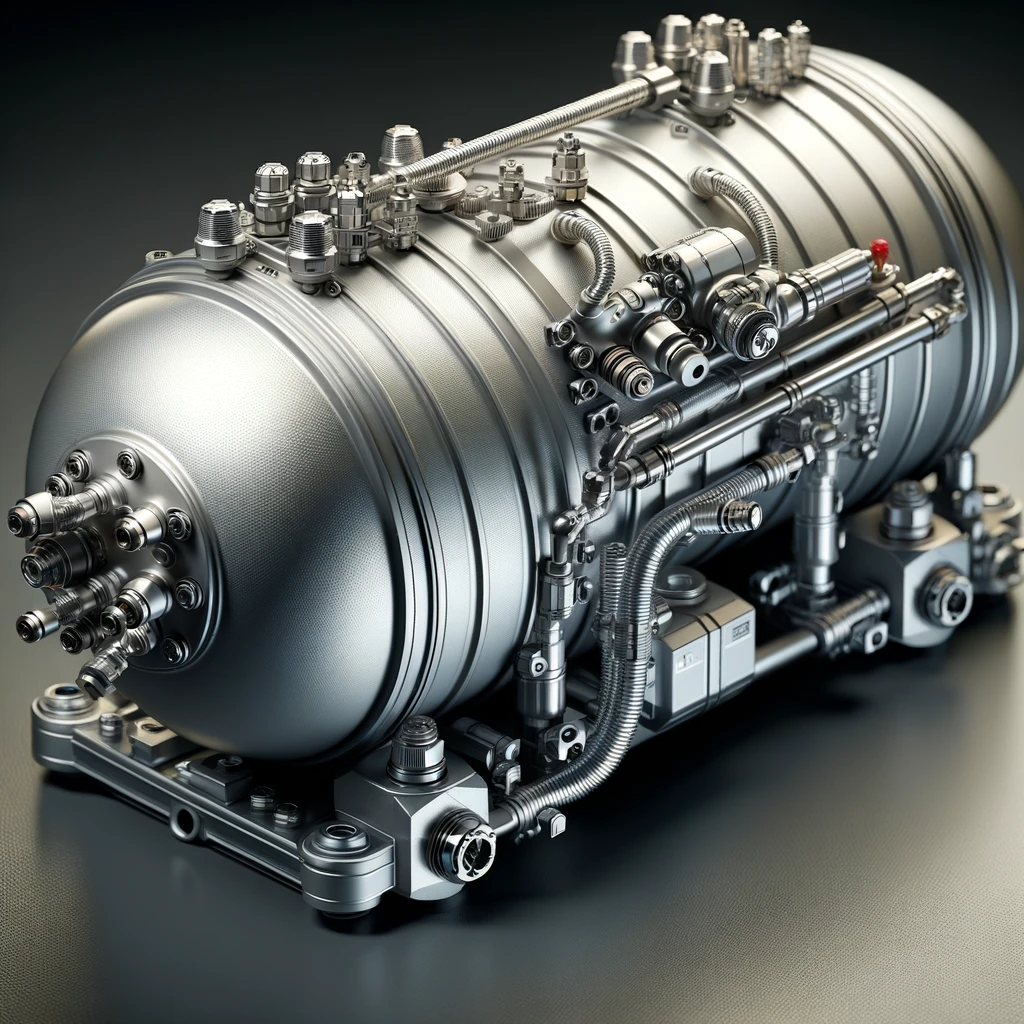
Are you ready to take your vehicle's performance to new heights? Look no further than the air suspension tank setup. Whether you're a seasoned enthusiast or just dipping your toes into the world of vehicle customization, optimizing your air suspension system can unlock a world of possibilities.
In this guide, we'll delve into the ins and outs of air suspension tank setups, exploring their benefits, installation process, and why they're a game-changer for any car aficionado.
Understanding Air Suspension Tank Setup
Components of an Air Suspension Tank Setup:
- Air Tank: Serves as a reservoir for storing compressed air the compressor generates.
- Compressor: Responsible for generating compressed air to be stored in the air tank.
- Valves: Control the release of air from the air tank into the airbags, enabling adjustments to the vehicle's height.
- Airbags: Utilized to raise or lower the vehicle's height based on driver preferences and road conditions.
Advantages of Air Suspension Tank Setup:
- Versatility: Offers the flexibility to adjust ride height on the go, providing adaptability to various driving conditions.
- Superior Comfort: Provides a smoother and more controlled ride than traditional coil springs or leaf springs.
- Enhanced Handling: Improves handling and stability, ensuring a comfortable and confident driving experience.
Installation Steps for Air Suspension Tank Setup

Step 1: Gather Your Tools
Before starting the installation, ensure you have all the necessary tools at hand. Reach for your trusty wrenches, sockets, an air line cutter, and mounting hardware from your toolbox.
Having these tools readily available will streamline the process and help you tackle any challenges that may arise along the way.
Step 2: Choose the Right Location
Selecting the optimal location for mounting your air suspension components is crucial for functionality and aesthetics. Take the time to survey your vehicle's trunk or undercarriage, considering factors such as accessibility, clearance, and weight distribution.
Choose a secure spot that provides ample space for mounting while minimizing interference with other vehicle systems.
Step 3: Mount the Air Tank
With the location decided, it's time to secure the air tank. Use sturdy brackets or straps to affix the tank to your chosen mounting location. Ensure the tank is firmly secured to prevent movement or vibrations while driving, which could lead to premature wear or damage to the components.
Step 4: Install the Compressor
Next, install the compressor onto the air tank. Position the compressor conveniently, ensuring easy access for maintenance and adjustments. Secure the compressor using bolts or mounting hardware provided with the kit, ensuring a snug fit to prevent shifting during operation.
Step 5: Connect Air Lines
With the tank and compressor in place, it's time to connect the air lines. Use an air line cutter to trim the lines to the appropriate length, then securely attach them to the compressor and air tank ports.
Route the lines away from any sharp edges or moving parts to prevent damage or leaks.
Step 6: Mount Valves
Mounting the valves is the next step in the installation process. Choose a location that allows easy access to the valves for adjustments and maintenance.
Secure the valves using appropriate mounting hardware, ensuring they are firmly attached to prevent shifting or rattling while driving.
Step 7: Wire the System
Once the components are mounted, it's time to wire the system. Connect the compressor and valves to your vehicle's power source using the provided wiring harness.
Follow the manufacturer's instructions carefully to ensure proper connections and polarity, minimizing the risk of electrical issues or damage to the components.
Step 8: Test for Leaks
Before installing your air suspension system, it's essential to test for leaks. Pressurize the system and carefully inspect all connections and fittings for signs of air leakage. Use a soapy water solution to pinpoint any leaks, taking care to tighten fittings or replace damaged components as needed.
Step 9: Adjust Settings
With the system pressurized and leak-free, it's time to fine-tune the settings for optimal performance. Adjust the pressure settings on the compressor and valves to achieve your desired ride height and stiffness.
Take your time with this step, making small adjustments and testing the system until you're satisfied with the results.
Step 10: Test the Setup
Once everything is set up and adjusted to your liking, it's time to test your air suspension system. Operate the system to raise and lower your vehicle, ensuring smooth and consistent performance.
Pay attention to unusual noises or behaviors, and make any necessary adjustments to fine-tune the system for maximum comfort and handling.
Read more: Exploring the Pros and Cons of 2 Gallon Air Tanks
Air Suspension Tank Setup Done Right
In conclusion, the air suspension tank setup is a must-have upgrade for any vehicle enthusiast looking to elevate their ride's performance. With its customizable ride height, superior comfort, and easy installation process, it's no wonder why air suspension is gaining popularity in the automotive world.
So why settle for a standard suspension setup when you can experience the ultimate driving dynamics? Upgrade to an air suspension tank setup today and experience the difference yourself.
Check out our selection at Airbagit.com and get the best products on the market!
Join our social media communities on Facebook and Instagram for the best tips and deals in the industry!

