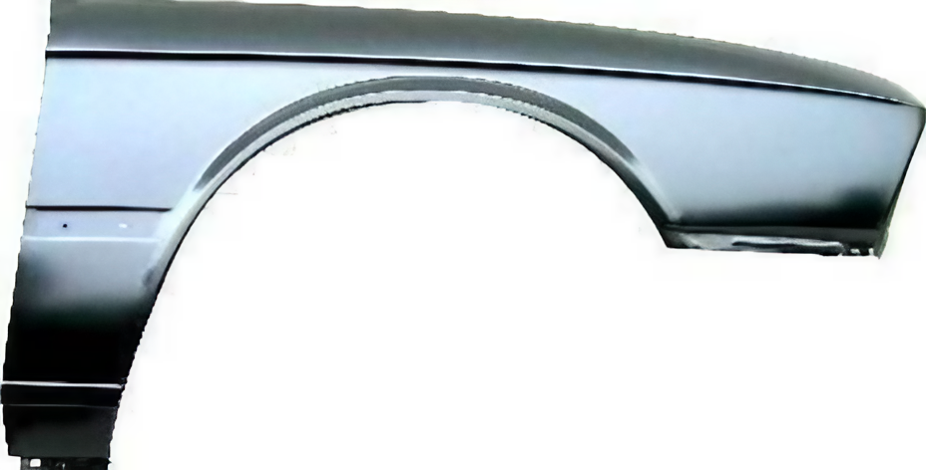
Ensuring proper fender clearance is crucial when modifying your vehicle's suspension, wheels, or tires. Inadequate clearance can lead to rubbing, damage, and poor handling.
Testing for fender clearance before finalizing your modifications can save you from potential issues and ensure a safe and smooth ride. This guide will walk you through the steps to test for fender clearance for fitment effectively.
Introduction
Fender clearance is the space between the vehicle’s fender and the tire. Proper clearance is essential to avoid rubbing or damaging the fender and tire, especially when the suspension compresses during driving.
Testing for fender clearance involves a series of checks and adjustments to ensure that your wheels and tires fit perfectly within the wheel well. This article will provide a step-by-step guide to help you test for fender clearance accurately.
Why Fender Clearance Matters
Avoiding Rubbing and Damage
Inadequate fender clearance can cause the tire to rub against the fender, especially during turns or when the suspension compresses. This can lead to:
- Tire Damage: Rubbing can cause premature tire wear or even damage the tire sidewall, leading to potential blowouts.
- Fender Damage: Persistent rubbing can damage the fender, causing dents, scratches, and even structural damage.
- Safety Issues: Poor clearance can affect vehicle handling, leading to unsafe driving conditions.
Ensuring Optimal Performance
Proper fender clearance ensures that your vehicle maintains optimal performance, including:
- Improved Handling: Adequate clearance allows the suspension to operate correctly, providing better handling and stability.
- Enhanced Aesthetics: Ensuring the wheels and tires fit well within the fender enhances the vehicle’s appearance.
Steps to Test for Fender Clearance

Step 1: Gather Necessary Tools
Before you begin, gather the necessary tools and equipment:
- Jack and Jack Stands: To lift the vehicle and secure it safely.
- Measuring Tape or Ruler: For accurate measurements.
- Wheel Spacers (if needed): To adjust wheel position for testing.
- Chalk or Tape: To mark positions and measurements.
- Fender Rolling Tool (optional): To adjust the fender if necessary.
Step 2: Lift the Vehicle
- Find a Level Surface: Park your vehicle on a flat, level surface.
- Use the Jack: Lift the vehicle using a jack at the recommended lifting points.
- Secure with Jack Stands: Place jack stands under the vehicle to secure it safely. Ensure the vehicle is stable before proceeding.
Step 3: Remove the Wheels
Remove the wheels to provide better access for measuring and inspecting the fender and wheel well.
Step 4: Measure the Current Clearance
- Measure Fender to Tire Distance: Use a measuring tape or ruler to measure the distance between the fender and the tire. Note the measurements at multiple points around the wheel well.
- Check for Obstructions: Inspect the wheel well for any potential obstructions that might affect clearance, such as suspension components or brake lines.
Step 5: Simulate Suspension Compression
To ensure clearance during suspension compression, you need to simulate the vehicle's suspension travel:
- Lower the Vehicle Slowly: Use the jack to lower the vehicle slowly until the suspension compresses. Observe the clearance as the vehicle lowers.
- Use Spacers if Needed: If necessary, use wheel spacers to test different wheel positions and offsets.
Step 6: Check for Rubbing or Contact
- Inspect Clearance: As the suspension compresses, inspect the clearance between the tire and the fender at various points.
- Look for Contact Points: Identify any points where the tire may contact the fender or other components. Use chalk or tape to mark these areas.
Step 7: Adjust as Necessary
Based on your findings, you may need to make adjustments to achieve proper clearance:
- Use Fender Rolling Tool: If there is minor rubbing, consider using a fender rolling tool to gently roll the inner lip of the fender for additional clearance.
- Adjust Wheel Spacers: Adjust or install wheel spacers to change the wheel's offset and improve clearance.
- Consider Tire Size: If clearance issues persist, you may need to select a different tire size or profile to fit better within the fender.
Step 8: Test Drive
After making adjustments, re-install the wheels and lower the vehicle fully. Take the vehicle for a test drive to ensure that the adjustments have resolved any clearance issues. Pay attention to the following during the test drive:
- Handling: Ensure that the vehicle handles well and feels stable.
- Noises: Listen for any unusual noises that might indicate rubbing or contact.
- Suspension Performance: Ensure that the suspension operates smoothly without any interference.
Conclusion: Ensuring Proper Fender Clearance
Testing for fender clearance is a crucial step when modifying your vehicle’s suspension, wheels, or tires. Proper clearance ensures that your vehicle operates safely and efficiently, avoiding potential damage and performance issues.
By following these steps and making necessary adjustments, you can achieve the perfect fitment for your wheels and tires.
Regularly check and maintain fender clearance, especially if you make further modifications to your vehicle. For more insights and tips on automotive maintenance and modifications, explore our latest blog posts.
Check out our selection at Airbagit.com and get the best products on the market!
Join our social media communities on Facebook and Instagram for the best tips and deals in the industry!

